Git-hub/Git 0.1
Because there are not good tutorials around I have to make one. This is your intro a Git-Hub/Git 0.1, hopefully is bad ENOUGH!

Welp! I had to return to Git/GitHub formally and had been a problem because all tutorials are outdated our they do not explain things in the way I like. So I decided to make one! This will be part of a long list of documents to create a good PDF which contains UpToDate info about Git/GitHub!
Step 1. Create a GitHub account. In order to do this you will need to enter into GitHub and create a new account. Once you get your account you will see a window like this:
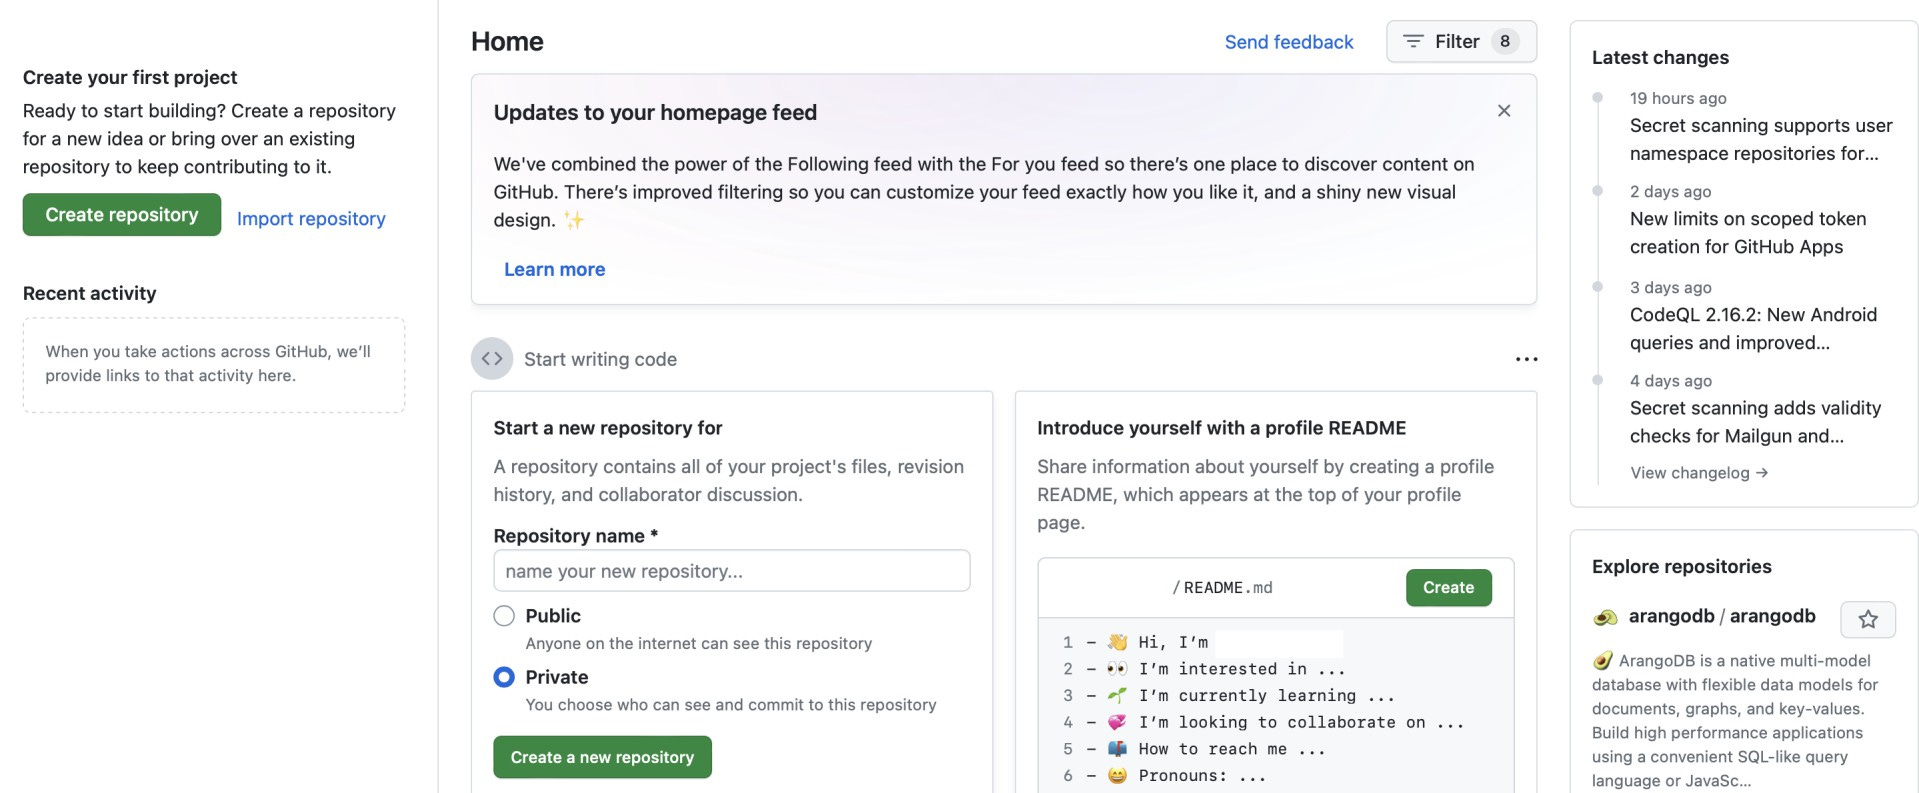
Step 2. Once you are in, you can create a new repository using the dialog “Start a new repository for“. We can call it “first“. Make this repository “public“
Now
git --versionThis will allow you to see if git is installed and which version you have installed on your system. If everything goes well you will something like the next:
git "version number" (company-association)This will tell you which version is (version number) and who shipped this version of Git.
Step 3. After checking which Git version we have, we will set up our username and mail using the next commands:
git config --global user.name "your Git-Hub username goes here"

git config --global user.email "the mail you are using in GitHub goes here"
After this we can check them using the next commands:
git config --global user.name

git config --global user.email
If everything is ok, you will see your user name and mail as answers.
Step 4. Now it’s time to create a file to upload into the repository you created. We will use the command line for this. Create a simple text file with anything inside and save it.
Step 5. Navigate to the folder using your command line, to do this you will use the command cd.
cd /path-to-your-folder/For example, if you are using OSX and you create a folder named “test“ inside the folder “Documents“ which exists on any OSX installation, then your command would look like:
cd Documents/testStep 6. Move the text file you created to the folder named “test”. You can use the command mv or use your file browser (copy/paste). If everything is ok, you can type at your terminal the command ls and this will show you the text file inside the “test“ folder.
Step 7. Initialise the files in your folder for a repository using the next command in your terminal:
git init
Step 8: Go to your repository, click on code and copy the https address show in the next image on the red rectangle:
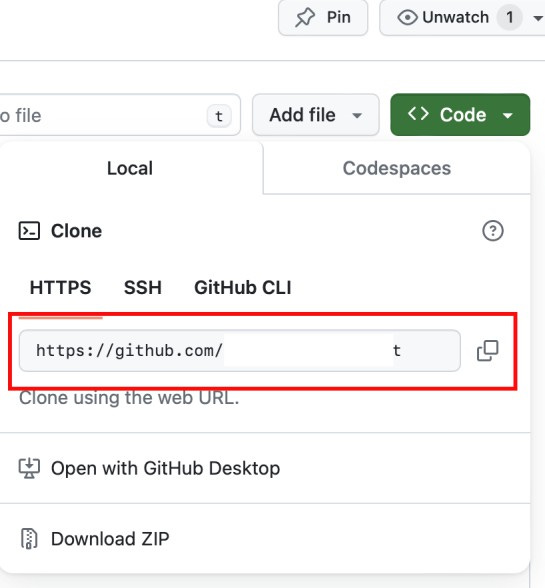
Step 9. Use the next command to initialise your remote repository:
git remote add origin "https you copied"Step 10. Tell git which files you want to add using the next command:
git add <filename>If you want to add all files inside the folder named as test just use:
git add .Step 11. Use the command commit message -m to give a description to the files you are uploading.
git commit -m "message"Step 12: Before you finally sent all your files from your terminal, you will need a personal access token. The tokens are temporary keys you give to yourself or others to submit changes or manage the repository. You can see this as another way to use a password that gives limited administration rights and expires thus bringing more protection. To do this you can use the next tutorial to create a personal access token (use the classic one at the end of the page): Personal token. Please be aware that you need to copy and store your token because after this step you will never see it again!.
Step 13: Once you created your token, just push your text file in the folder named as “test“ using the next command:
git push origin mainIf everything went well, the terminal will ask you for your git hub username and your password (do not use your pass word, use the personal access token you created and copied).
Step 14. It is done! if you go inside your repository using your browser you will see the text file inside your repository! CONGRATULATIONS you uploaded your first file to GitHub using git! I won’t explain what all commands mean but you can find a good intro to this using git —-help.